

How To Edit Wedding Photos
How to Edit Colorful, Natural, Timeless Wedding Photos
I feel old just typing this – but I’ve photographed weddings and couples for over TEN YEARS! Crazy, right? It wasn’t until the last 5-6 years that I really honed in on my consistent, characteristically bright, natural, and vibrant style. I played around with mimicking the style of other wedding photographers that I admired, but nothing ever fit me just right. It took years to develop my own consistent editing style through trial and error, and now that I feel solid in it, I am so much happier with my work and SO much faster with turning around my galleries to clients.
Developing my bold and colorful editing style was critical in setting myself apart from other photographers and having a cohesive look for my portfolio, and now, it’s time for me to pay it forward and share the knowledge I’ve learned with you!
If you want to learn how to edit colorful and timeless wedding photos, keep reading – I’ve got 5 steps to get you on your way there.
Bogged down with work and bookings, and need a fast solution? Grab my wedding masters presets here and get that timeless and colorful look with just a few slider adjustments.
1. Watch Your Exposure
Capturing your subject with the right exposure is the key to bringing out the details and colors in your photos. Overexposure can wash out vibrant tones and make the image too bright to see details, while underexposure can make the tones appear dull and the image too dark and flat. The great thing about editing is that you can adjust the exposure of your photos in post if you don’t have the time to dial it in when shooting or just didn’t manage to get it quite right.
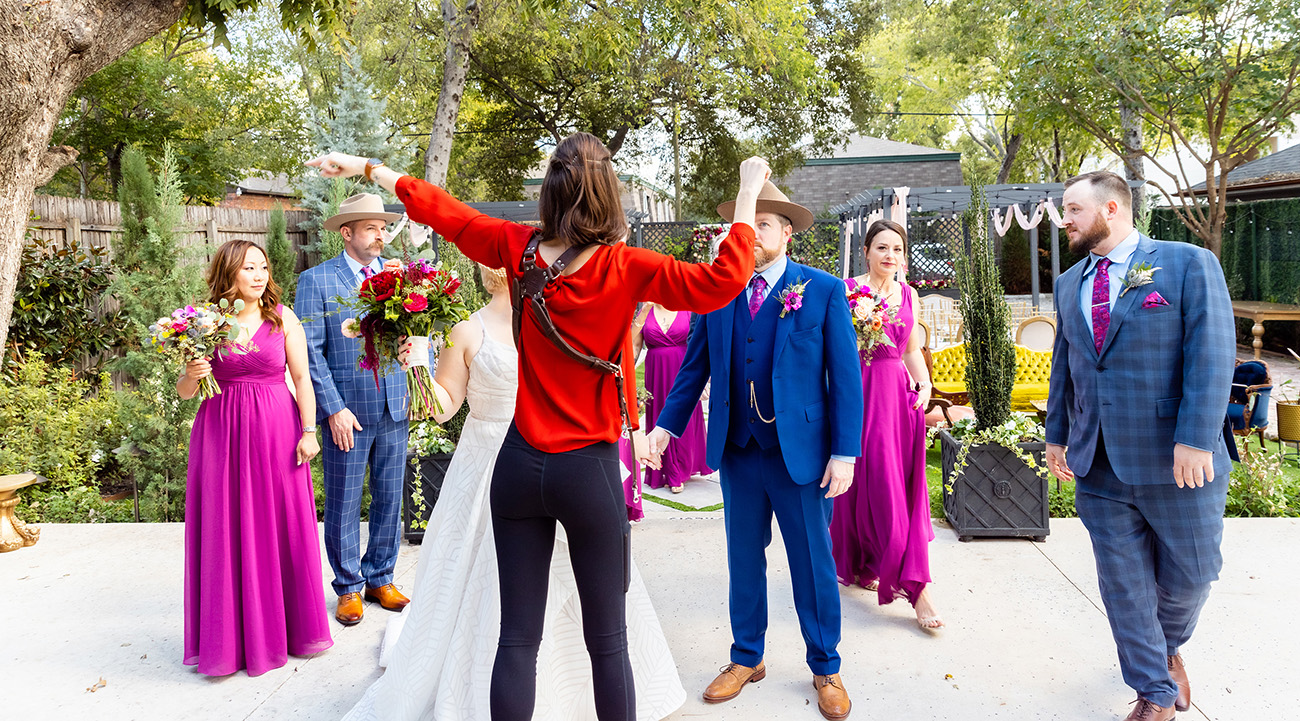
For bright and vibrant photos, I like to just slightly under expose in camera (see image to the left) so that I can keep all color information in my RAW file and not wash out colors by overexposing. I then adjust the exposure, add contrast, vibrance, and saturation in Lightroom using my presets and tweaking where necessary.
Edited with POP Presets Brighten Preset for Lightroom Desktop: https://monikanormandphoto.com/products/pop-presets-wedding-master-desktop-pack/
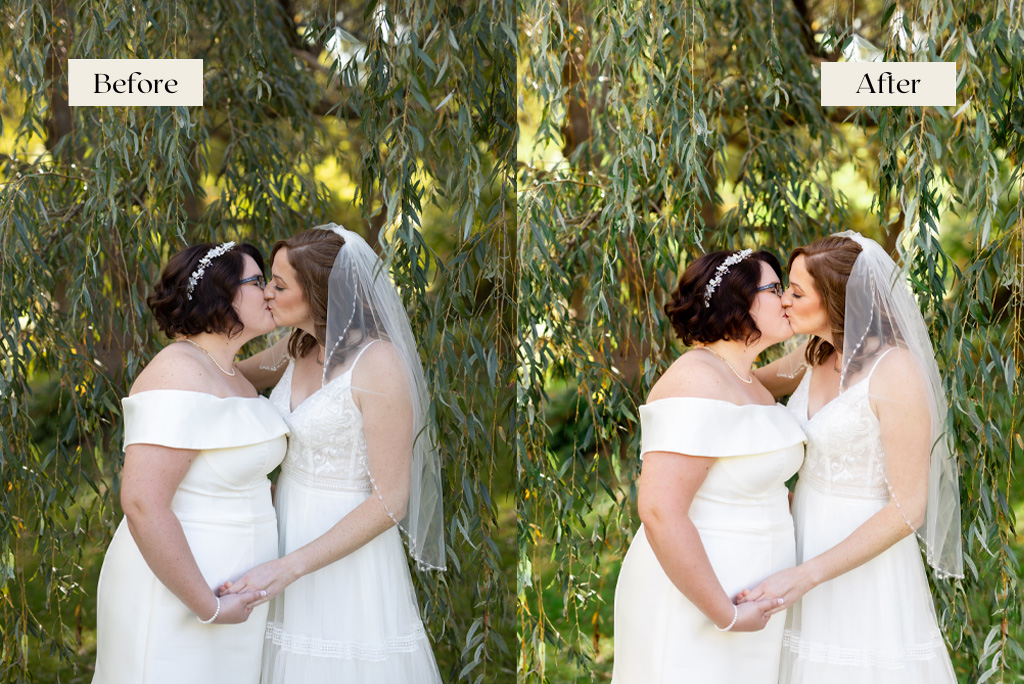
2. Correct Your White Balance
White balance is one of the most critical steps of your editing process. When your white balance is properly set, all the whites in your photo will look actually white, and the colors will look natural. However, if your white balance is off, it’s pretty obvious and can create issues in accurately capturing your bride’s wedding palette, your restaurant client’s food, or your product photography client’s product listings.
You can adjust your white balance by moving the temperature and tint sliders in Lightroom. These sliders allow you to fine-tune the colors in your photos, giving you a natural look. A handy trick to get accurate white balance is to use the white balance eyedropper tool. Select the whitest part of your image with the tool, and it will usually automatically correct the white balance for you. However, there are still instances where you will need to do a little more tweaking, as some lighting situations are more challenging to correct than others.
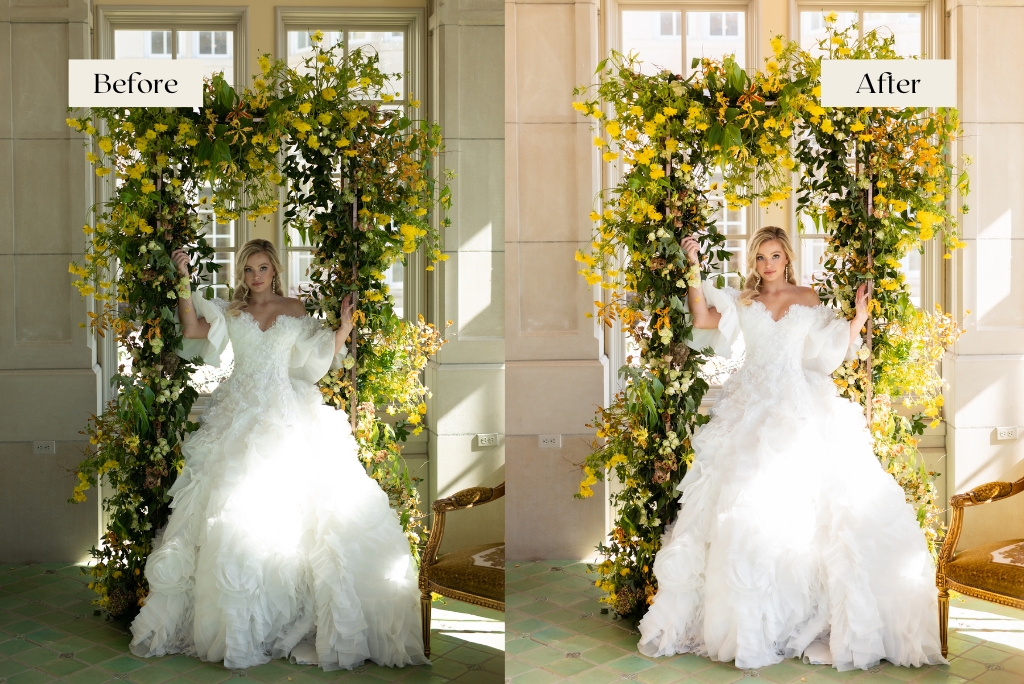
In the early stages of my career, I struggled with consistently editing photos with prominent greens and yellows. Green is a TOUGH color to combat in the summer, especially when shooting weddings. As I grew as a photographer and editor, I created a preset to streamline my process. My “Cool Green/Yellow Correction” preset made it ten times easier for me to edit photos with greens and yellows while maintaining a consistent look and feel, and staying true to my style.
One trick I use fairly consistently to ensure proper white balance is this: Shoot in Kelvin in-camera and do your best to get it right. Then, when opening your photo in Lightroom, hit the auto white balance button. Make note of the temperature it sets your photo to. Then, go back and see what your original temperature was. 9 times out of 10, the correct white balance lies in between what you thought it was in-camera and what Lightroom’s auto white balance feature thinks it is.
Edited with POP Presets Cool Green/Yellow Correction Preset for Lightroom Desktop: https://monikanormandphoto.com/products/pop-presets-wedding-master-desktop-pack/
3. Get Creative With Your Contrast
Contrast adds depth and dimension to your photos. By adjusting the contrast levels while you’re editing, you can play with the highlights and shadows of your image. Finding the right contrast for your images is like finding the right balance between light and darkness in an image. While you are playing with the contrast in your images, it’s important to not get too dramatic with it and to maintain a natural look.
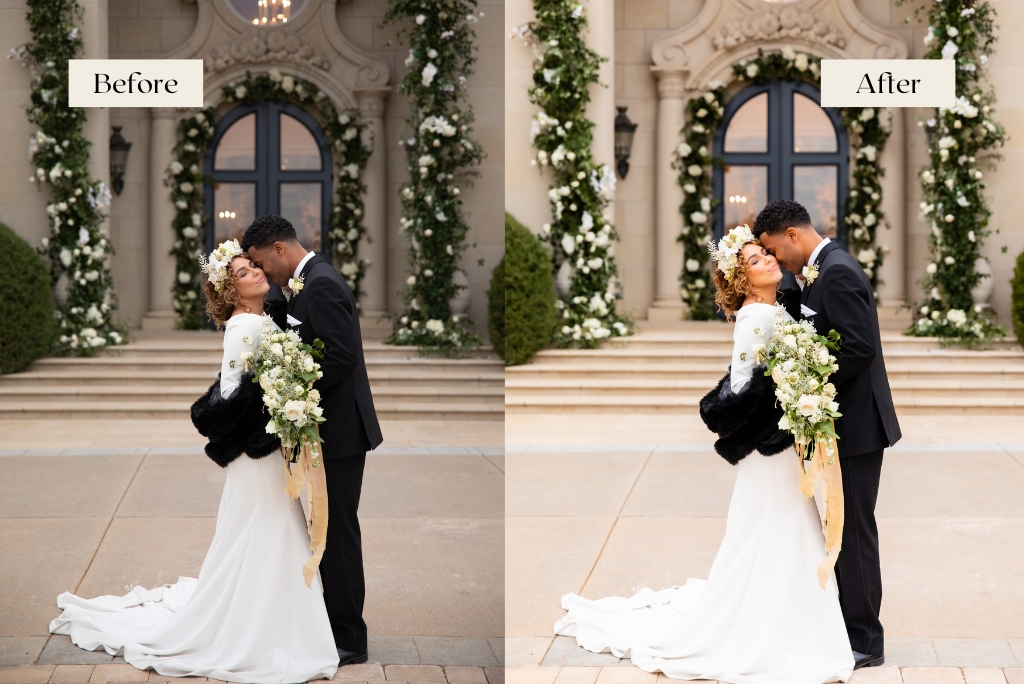
I spent a fair amount of time experimenting with different levels of contrast in my work before I was able to figure out just the right amount for my editing style. A great example of how I creatively use contrast in my photos can be seen in my “Crisp Fall Wedding” preset. I’ve used this preset to give my photos a recognizable bold yet natural look.
Edited with POP Presets Crisp Fall Wedding Preset for Lightroom Desktop: https://monikanormandphoto.com/products/pop-presets-wedding-master-desktop-pack/
4. Play With Your Color Calibration
The color calibration sliders are like my secret sauce. Every photo you see is made up of red, green and blue pixels, and the calibration tool gives you the power to manipulate those pixels.
Adjusting the red, green and blue pixels in your photos lets you make technical, creative and stylistic changes to your images. For example, you can use the calibration tool to remove any color cast in a photo without altering the other colors in the photo. I use the calibration tool to fine tune the colors in my photos and give my photos a vibrant and poppy look while still staying true to the natural colors of the scene in the image.
Edited with POP Presets Wedding Film Preset for Lightroom Desktop: https://monikanormandphoto.com/products/pop-presets-wedding-master-desktop-pack/
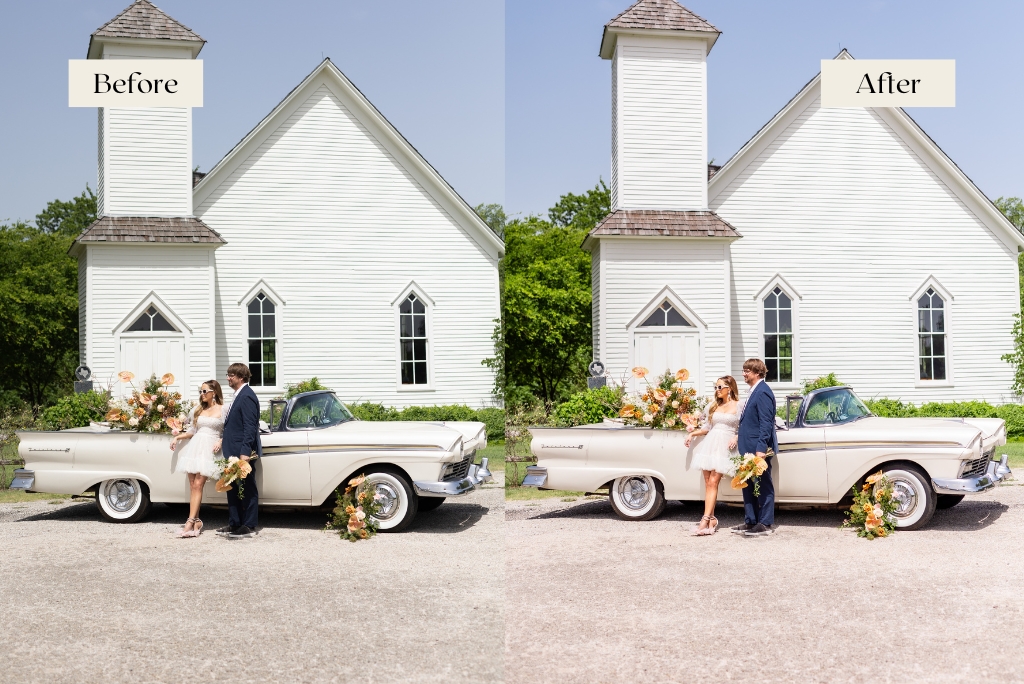
5. Editing Photos In Direct Sunlight
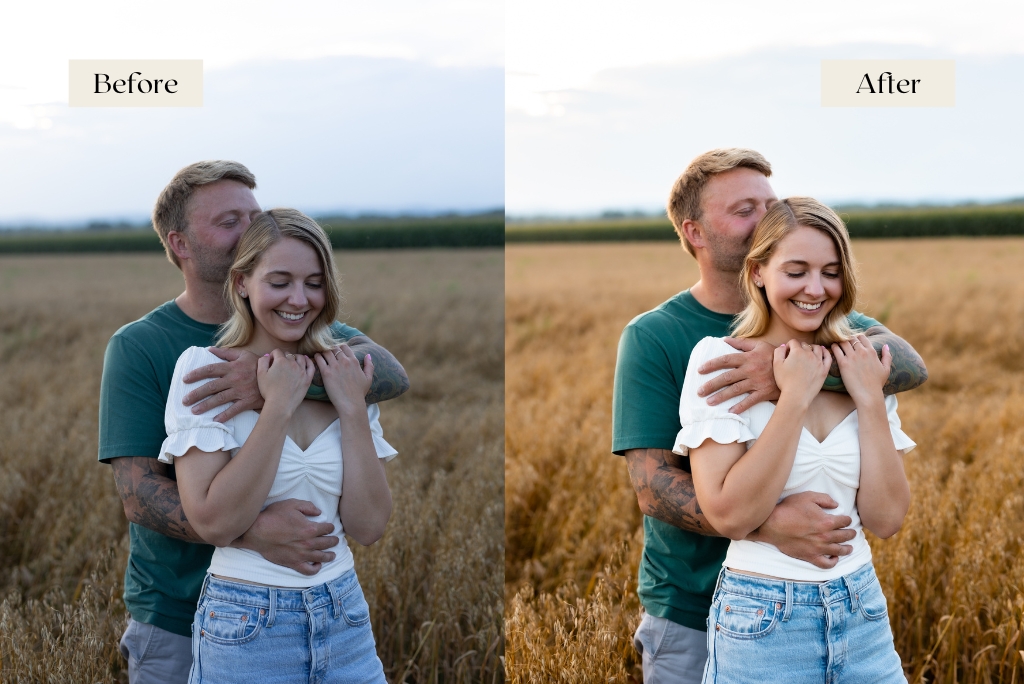
Sometimes you can’t control the environment we have to shoot in, so it’s important to practice editing photos captured in different lighting conditions. I know editing photos shot in direct sunlight can be a nightmare for photographers but it doesn’t have to be. When you’re editing photos shot in direct sunlight, you’ll need to combine a couple of editing skills together to get a great look. First, you’ll need to adjust your exposure (decrease overall exposure) and correct your white balance. Then, you’ll need to play with your highlights slider to bring back some of your highlights (lower the slider) and adjust your shadows slider (bring shadows up) to reduce any contrast and unflattering shadows. You can finish up the edit by playing with your blues and aqua in your HSL slider to bring back the sky in your photo if it is looking over-exposed.
Edited with POP Presets Direct Sun Preset for Lightroom Desktop: https://monikanormandphoto.com/products/pop-presets-wedding-master-desktop-pack/
Following the steps will get you own your way to consistently editing colorful and timeless wedding photos. If you’re looking to speed up your learning process, check out my presets here and see if they are a good fit for you!